Renovations
Renovationing with Leadlights.
These helpful practical tips are based on our many years of working on countless renovation projects in the building industry.
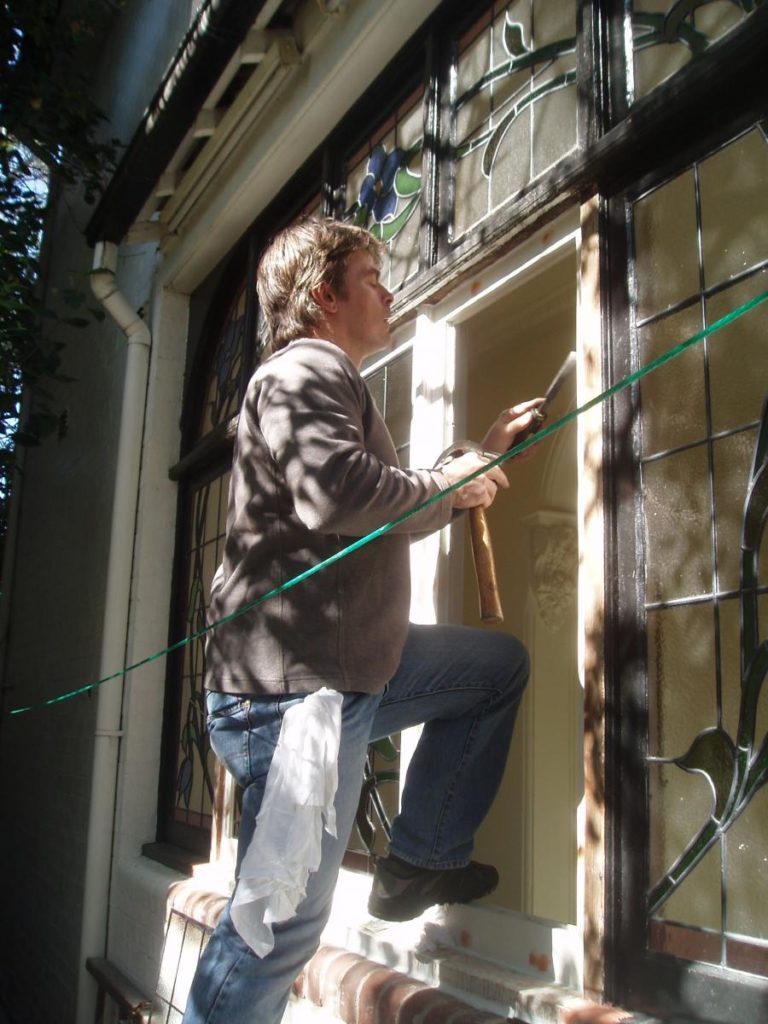
Installation of your new leadlights should be as close to the end of your renovation as practically possible, preferably after the floors are finished and while the painters are there. Sometimes because of inaccessibility during a renovation, some leadlights may have to be installed earlier as the install would become impossible as the renovation continues. This needs to be taken into account, and the leadlights started far earlier in the renovation process.
When ordering new windows and doors, make sure you discuss with the joinery or your builder that you would like to glaze them with leadlights. Allowances need to be made for the leadlights weight and size, glazing and delivery.
Consider your personal needs and talk to your builder or joinery about the following when your renovation includes leadlights.
- Deepened rebates in your window sashes as leadlights are about 8 – 10 mm thick, nearly twice as thick as normal glass used for glazing standard windows.
- The deepest rebate allowance they can give you if you’re going to use leadlights in bathrooms and any low window frames (less than 500mm off the floor). These need to be double–glazed with safety glass, requiring a little more room in the rebate. A double rebates frame is best as that allows air between the leadlight and the glass.
- Temporary glaze or board up windows to get you through the lock up stage as it is best to leave the leadlights installation until the end of the renovation.
- Feature panels being placed in inaccessible or high areas eg: stair wells with limited outside access, may need to go into their frames on the ground, as access may make it impossible afterwards when the frame is set into the wall. This frame would need to be kept aside while the leadlights are being manufactured and installed later.
- The difference of construction and appearance between traditionally weighted double hung windows with sash cords and the modern spiral balanced windows is considerable. If your want to match a very old double hung windows exactly, you will need to look at the traditionally weighted windows and their cost, made by a joiner that specialises in that restoration work. Spiral balanced windows will not look the same, as their frame proportions are noticeably narrower beside an older style window.
Both need to have the sashes ‘balanced’ so they will hold the weight of the leadlights glazed into them, otherwise the window will not stay open. The joinery will need to take this into consideration and needs an estimation of how heavy the leadlights will be. - Ask for primed timber if you are going to paint. Sealing the rebates before they are glazed helps protect your sashes from the elements for their lifetime.
- If you are replacing sashes that hold existing leadlights, ask the joinery to maintain the original rebate size from the old sashes so your leadlights will fit into the new sashes. A few millimetres difference either way could mean the leadlights no longer fit and result in extra expense to change them.
- Always ask a professional leadlighter to take the leadlights out of old windows before you give the original sashes to someone else to work on. Old panels tend to fall apart as they are taken out their old sash, and handled with care by a professional saves time, money, and heartache.